Category Archives: Today’s Tasting Notes

My New Favorite Sauce!

My New Favorite Sauce!

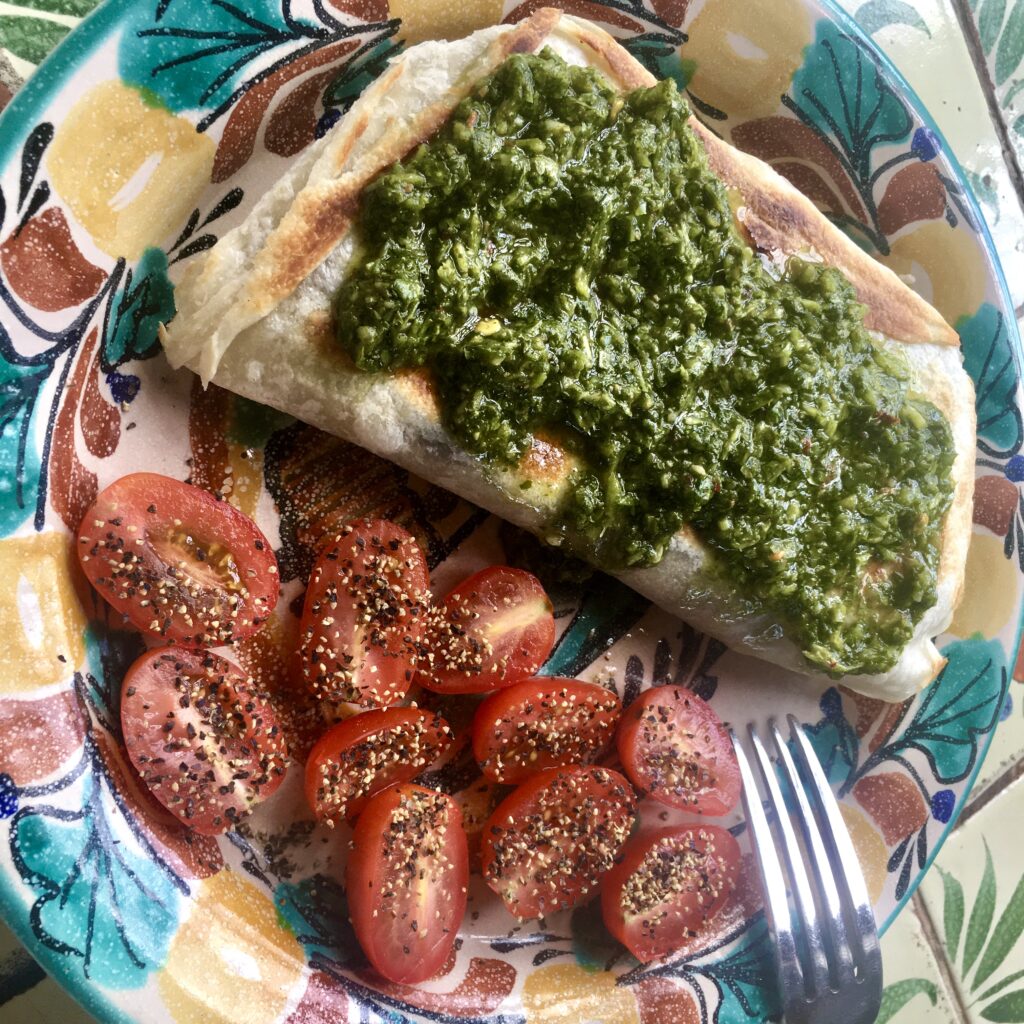
My Lunch Today – Quesadilla with Zhoug Sauce and Cherry Tomatoes

Ron and I were introduced to a delicious new sauce called zhoug (pronounced zoog) when we were visiting our friends, Bonnie and Don, in Long Beach, California early this year – just before COVID-19 changed the world.

Bonnie is the queen of making fabulous food – FAST! I treat cooking as an exercise in meditation and I putter and play while I create. Bonnie, on the other hand, has learned the art of getting meals prepared quickly so she can move on to do other things she’d rather spend time on. She picked the zhoug sauce up at Trader Joe’s and Ron and I absolutely fell in love with it. We picked up extra to bring home to Mexico, but the supply didn’t last very long. The answer, then, was to figure out how to make it myself!

Zhoug originated in Yemen but is now enjoyed in many other parts of the world (our friend, Henry, remembers having it while living in Israel). I’m a huge fan of chimichurri, but find that zhoug is brighter, spicier, greener and fresher. I use it on and in everything, literally, and it makes the BEST guacamole when mixed into mashed avocado. Using a food processor, this literally takes 10 minutes to make and clean up. Give it a whirl – literally!

Ingredients

  • 3 cloves garlic
  • 2 Serrano chiles, seeds and membranes removed and cut in big chunks
  • 1 large bunch cilantro, washed and dried
  • 1 tsp. ground cumin
  • 1/2 tsp. ground cardamom
  • 1/2 tsp. kosher salt
  • 1/2 tsp. dried crushed chile flakes
  • 1/3 cup extra-virgin olive oil
  • 2 tbsp. fresh lemon juice

Instructions

Place all ingredients (except olive oil and lemon juice) into the bowl of a food processor and pulse until chopped fine. Add olive oil and lemon juice and blend into a coarse paste.

Store in a sealed, glass jar in your refrigerator for up to a week (if it lasts that long!).

Instant Pot Chili Colorado

Instant Pot Chili Colorado

I bought an Instant Pot last season and brought it down to Cabo. I’ve had a lot of fun playing with it and experimenting with foods and recipes.

Ron has told me often about a recipe he used to make that he absolutely loved called Chili Colorado. The name has nothing to do with the State of Colorado, but rather the color of the sauce (literally colored red). This is a traditional Mexican stew made with either pork or beef and is wonderfully flavored with the combination of dried chiles used to make it: ancho, pasilla, and guajillo. Please note that these dried chiles should be pliable to ensure maximum flavor – if they are dried out, they will have far less to offer this dish.

Ingredients:

3 cups chicken stock

5 ancho chiles, stems and seeds removed

2 pasilla chiles, stems and seeds removed

2 guajillo chiles, stems and seeds removed

2 lbs. boneless pork shoulder (beef roast may be used as well), cut into 3/4” pieces

1/2 tsp. salt

1/2 tsp. black pepper

2 tbsp. vegetable oil

8 cloves garlic, chopped

1 tbsp. ground cumin

2 tbsp.  fresh sage, chopped

2 tbsp.  fresh Mexican oregano, chopped

2 bay leaves

1 – 14 oz. can of pureed tomatoes

1 tbsp. brown sugar

1 bottle of beer

Method:

Heat chicken stock in a saucepan. When boiling, add the chiles, then cover and remove from heat. Let sit for about half an hour to allow the chiles to soften. Put the chiles and all of the soaking liquid into a covered blender and purée until very smooth.

Season the pork pieces with salt and pepper. Heat the oil in the Instant Pot using the Sauté function. Add the meat and brown. Add garlic, cumin, oregano. bay leaves, tomatoes, brown sugar and beer. Stir in the chile purée, cover and cook for 30 minutes using the Pressure feature and Pork selection.

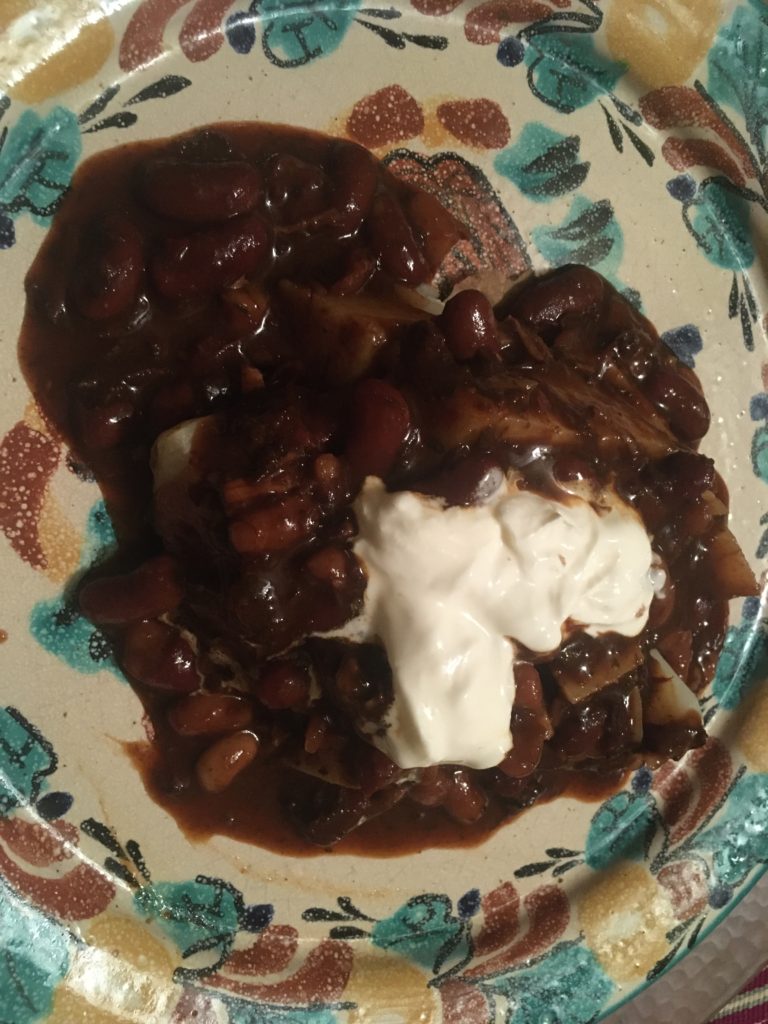
The first night that we had this chili, I served it over white rice with a dollop of sour cream on top. The second night, I added some cooked kidney beans (many chili aficionados would baulk strongly at that!) and served it over baked potatoes, again with a dollop of sour cream on top. Neither of these treatments is authentically Mexican, as it would be served with Mexican rice, flour or corn tortillas and perhaps some beans a la charra on the side. However you like to enjoy it, this is a delicious dish that is prepared rapidly with the use of the Instant Pot.

Making Do With What You Have

While we’re staying in the Hamptons, we rent a basement suite from a dear Irish woman and her son in the village of Hampton Bays. As with any rental, the kitchen equipment is basic and you make the best with what you have to work with.

We had a large batch of fresh basil the other day that I decided to make pesto with (the organic and farm-stand produce available here is fabulous at this time of year). We had, I thought, all the ingredients and tools required to make it – until I started.

I threw everything into the blender and was starting to pulse before adding the oil and, as luck would have it, the motor seized up. I pulled everything out of the blender jar in batches and coarse chopped the fresh basil (~2 cups), garlic (4 cloves), and walnuts (~1/4 cup). I then took a round bottomed bowl and used the heel of a chef’s knife to create a mortar and pestle. Once I had the ingredients in the bowl pulverized to a coarse texture, I gradually introduced the olive oil (~1/2 cup) and mixed until smooth. I then stirred in the freshly grated Parmesan cheese (~1/2 cup) until just combined.

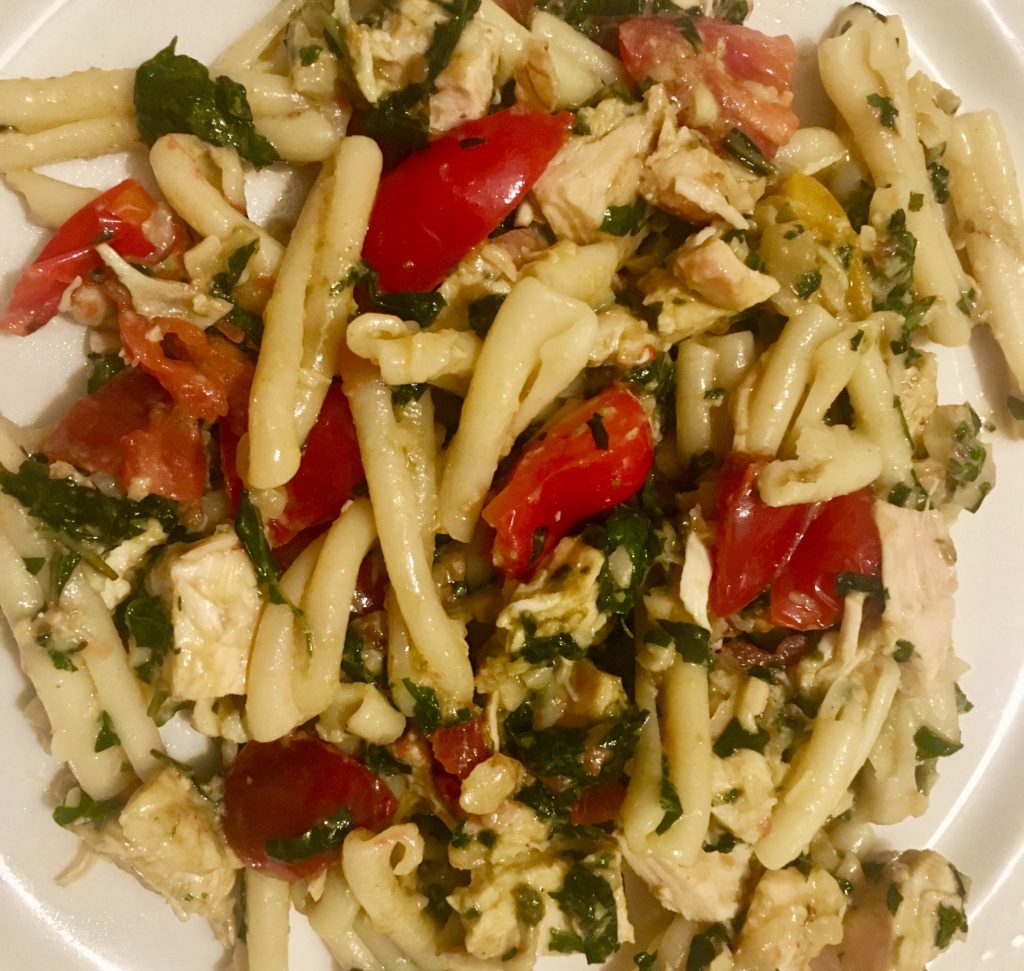
I had cooked some Casarecce pasta, added some beautiful sliced cherry tomatoes, Kalamata olives and chopped roast chicken, but was concerned that I wouldn’t like the coarser texture that my handmade pesto would provide. I was delighted that we really enjoyed it and that the small bits of walnut, garlic, cheese and basil actually added to the dish. I’ve always made my pesto very smooth, but this was a huge learning for me that sometimes a more crude or handmade touch is the key to a great dish. I encourage you to give it a try sometime (or at the very least, pulse a bit less to get the same results)!

Tomato and Basil Heaven

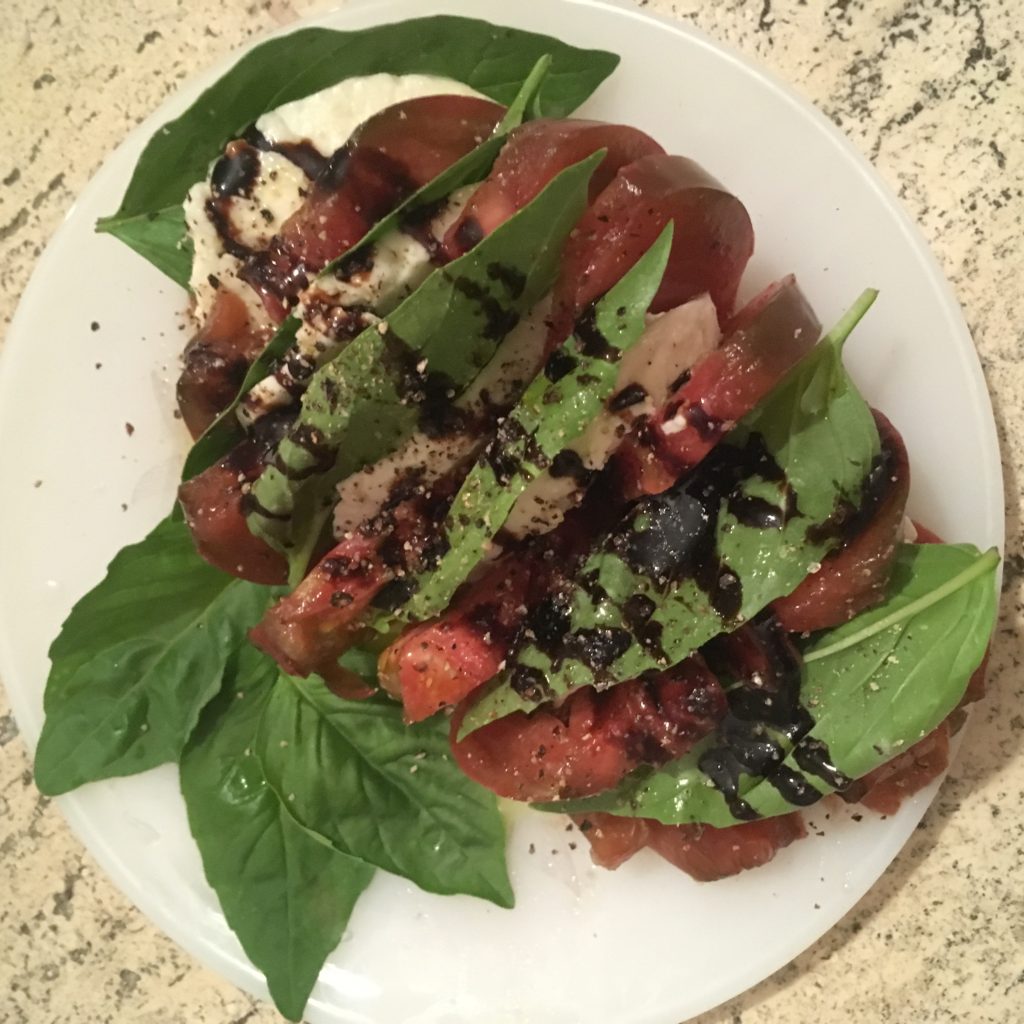
We’re in the Hamptons in New York right now and the bounty of the season is absolutely glorious. Fresh and delicious heirloom tomatoes, fresh basil, fresh mozzarella cheese from Scotto’s, good quality olive oil, balsamic vinegar reduction, sea salt and freshly ground black pepper – nothing could taste better for a Caprese Salad than this.

My friend, Kajsa, introduced me to this presentation of Caprese – cutting the top off the tomato, then slicing the tomato without cutting through the bottom to create “petals” to put the mozzarella cheese and fresh basil leaves between. Once you have the “petals” stuffed, simply drizzle olive oil and balsamic vinegar reduction over, then sprinkle with a sparse amount of sea salt and course freshly ground black pepper. The secret is, as with everything, the freshness and goodness of the ingredients. Simple and delicious flavors to enjoy!

Roasted Broccoli With Shrimp

Roasted Broccoli With Shrimp

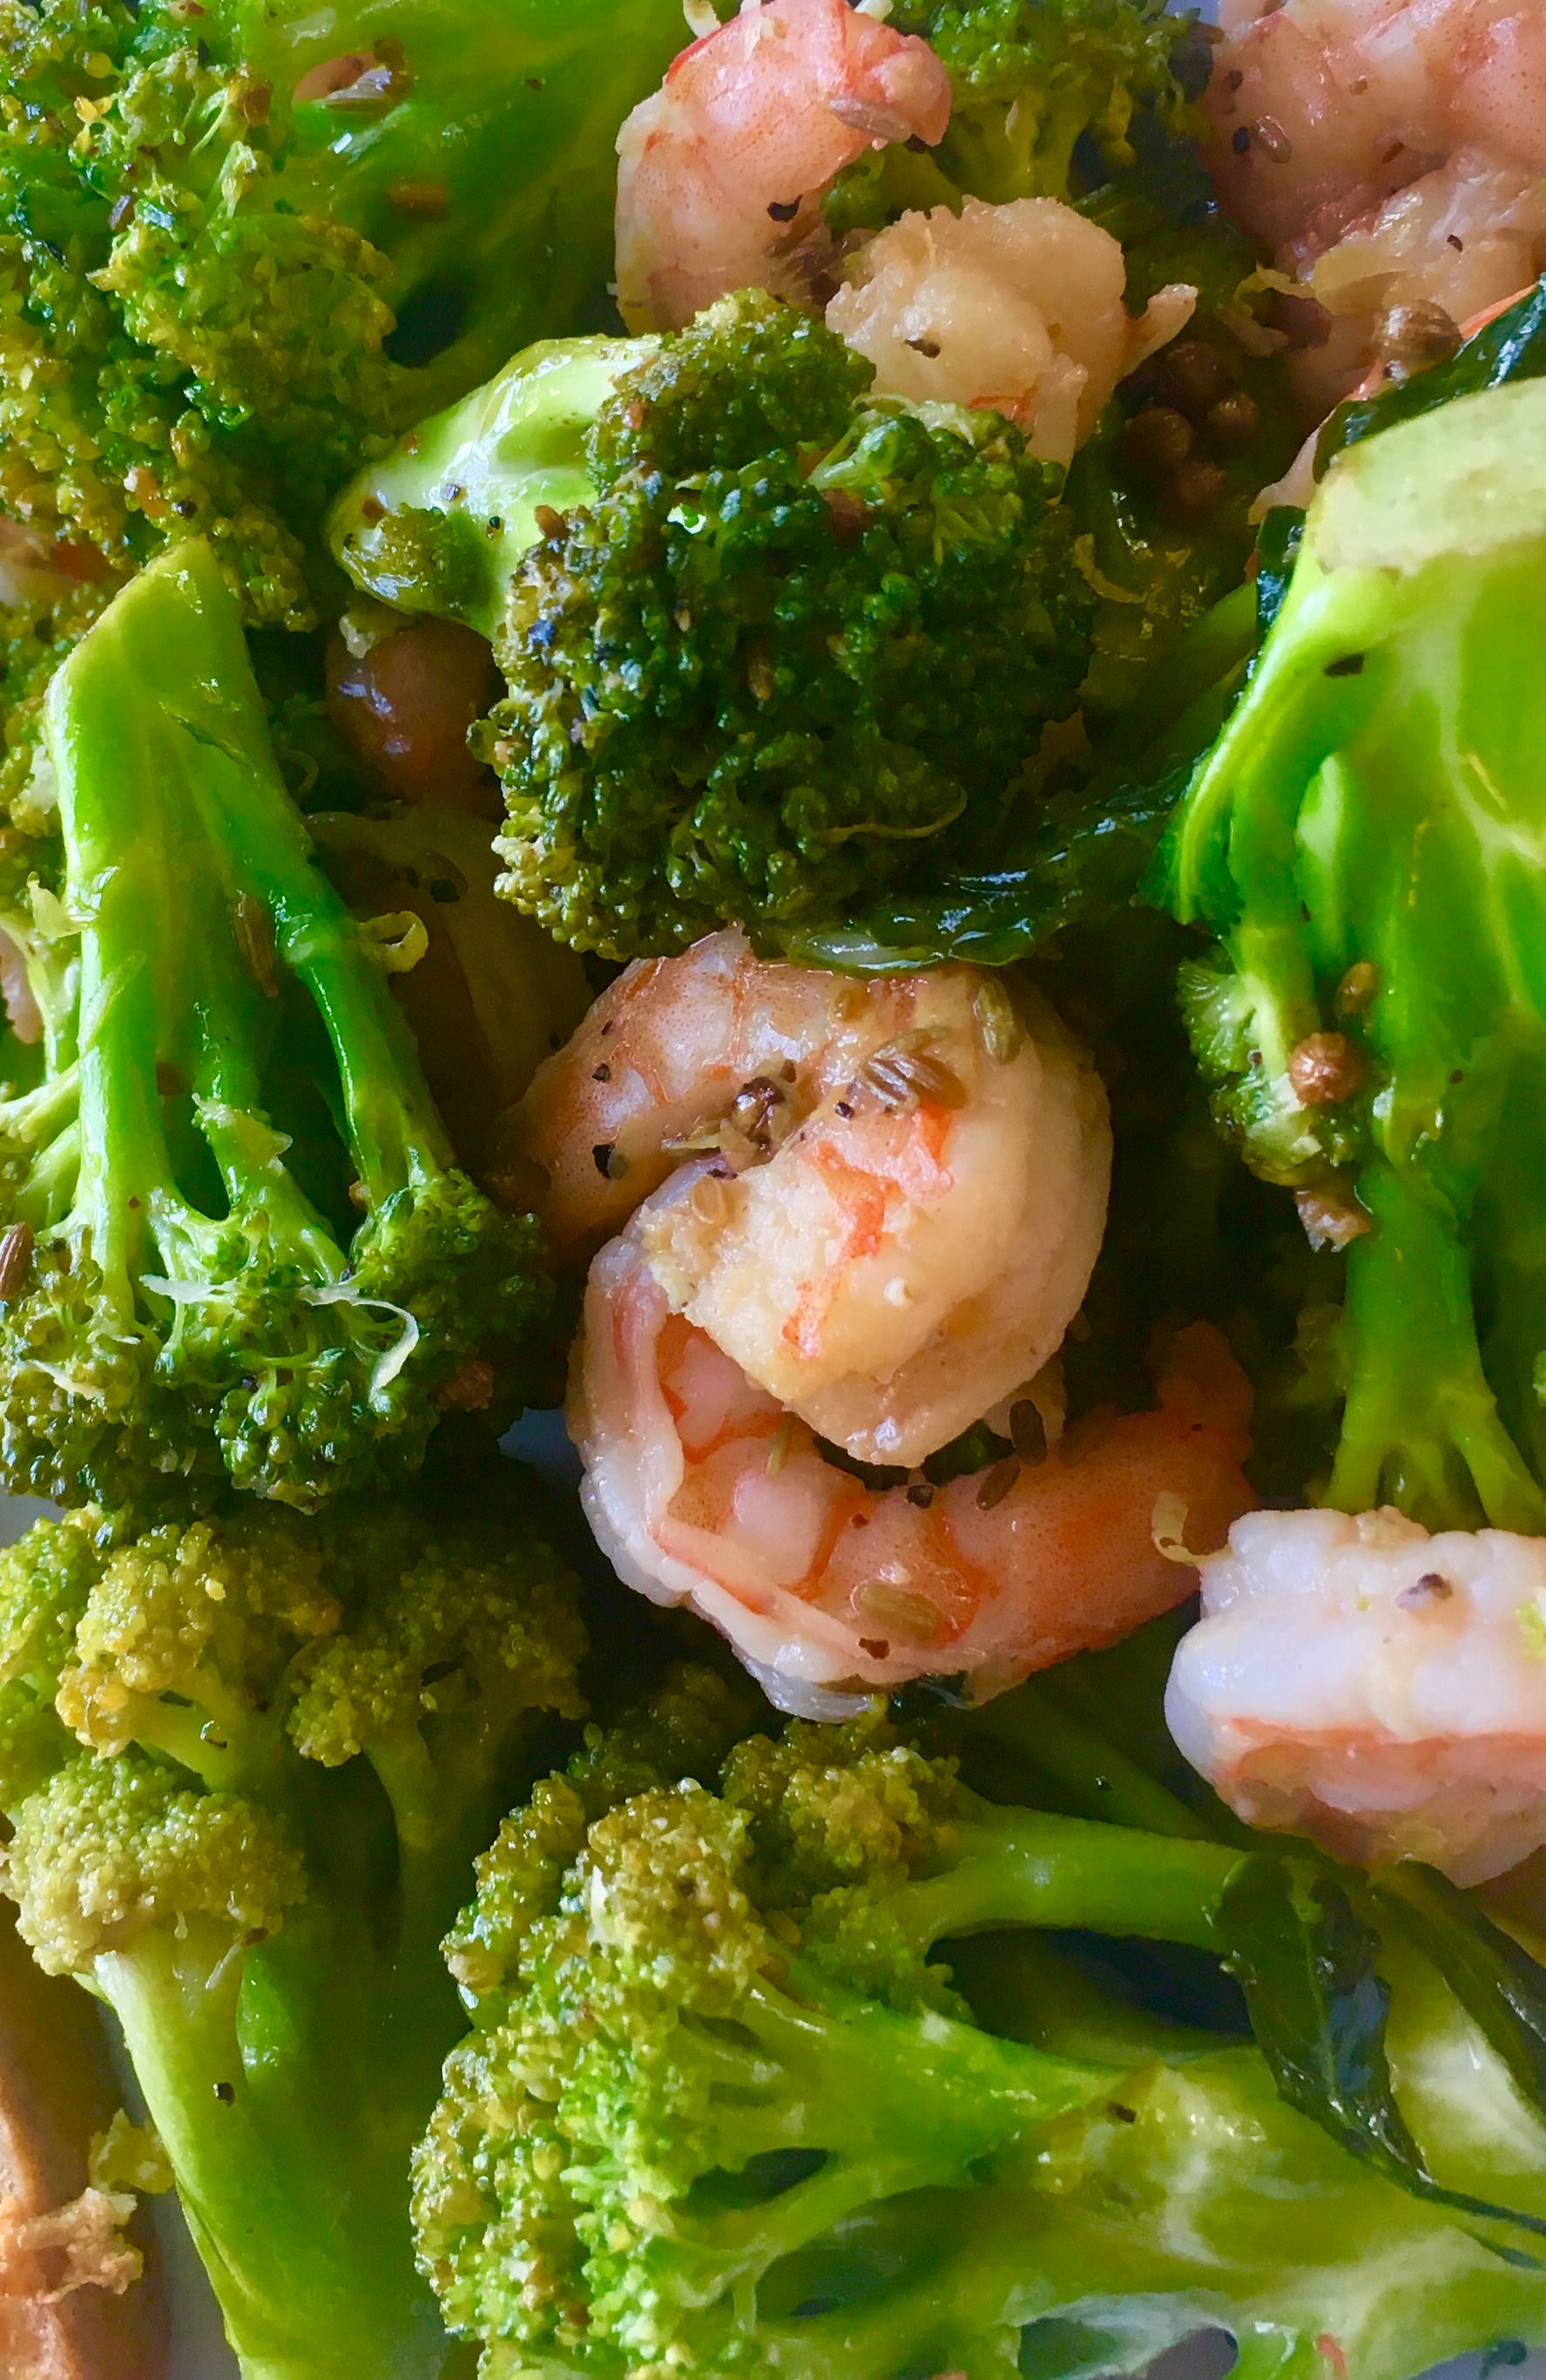
My dear friend, Denise, served this delicious dish to me a couple of years ago and I absolutely loved it! She got the recipe from her daughter, Joni – both mother and daughter are GREAT cooks. I had some beautiful broccoli florets from the Organic Market up the street and some shrimp in the freezer from Costco and half an hour later – voilá! I made a couple of modifications to the recipe, but here it is:

  • 1 lb. broccoli florets, cut into bite-size pieces
  • 4 tbsp. avocado oil (extra virgin olive oil may be substituted), divided
  • 1 tsp. whole coriander seeds
  • 1 tsp. whole cumin seeds
  • 1/2 tsp. Maldon or kosher salt, divided
  • 1 tsp. freshly ground black pepper, divided
  • 1/8 tsp. cayenne chile powder
  • 1 lb. large shrimp, shelled and deveined
  • lemon zest (from 1 large lemon)
  • lemon wedges, for serving

Preheat oven to 425F. In a large bowl, toss broccoli florets with 2 tbsp. oil, coriander, cumin, 1/4 tsp. salt, 1/2 tsp. black pepper and chile powder. In a separate bowl, combine shrimp (thawed and drained, if using frozen), remaining 2 tbsp. avocado oil, lemon zest, remaining 1/4 tsp. salt and remaining 1/2 tsp. black pepper.

Spread broccoli in a single layer on a baking sheet (or I used a large cast iron frying pan) and roast for 10 minutes. Add shrimp to baking sheet and toss with broccoli. Roast, tossing once after 10 minutes. Cook until shrimp are pink (and curled) and broccoli is tender and golden around the edges, about 5 to 10 minutes more. Serve with lemon wedges, or squeeze lemon juice all over shrimp and broccoli just before serving.

Serves 2 to 4 (depending on your appetites!)

Roasted Broccoli with Shrimp