Back when the pandemic started and people were talking about sourdough, I decided to give it a go. How hard could it be? Kajsa and I did a sourdough course a few years ago and it seemed quite doable.
I read up on it and got my starter going. I followed the instructions from King Arthur Flour to the letter and was really bothered by the waste in throwing our half of the starter every day, feeding it, then doing the same thing and wasting so much again the next day for a full week. Once the starter was ready and I’d played with the method, I came up with a simplified strategy with NO WASTE!
Sourdough Starter
In order to “wake” up your starter after bringing it to room temperature out of the fridge, increase the volume of the starter, or to replace what you’ve used, the formula is simple: 2 parts flour to 1 part lukewarm water. A trick that I use is that I mix it separately (it will be very thick and hard to incorporate all the flour) and then add it to whatever starter you have. Leave it out at room temperature until it is bubbling and vibrant again, then cover it and put it back in the fridge until you’re ready for it again. I just added flour and water to my starter which had been in the fridge for over three weeks, untouched, and it came back to life right away. No need to throw out “discard” as the experts tell you to keep the starter alive.
Sourdough Bread
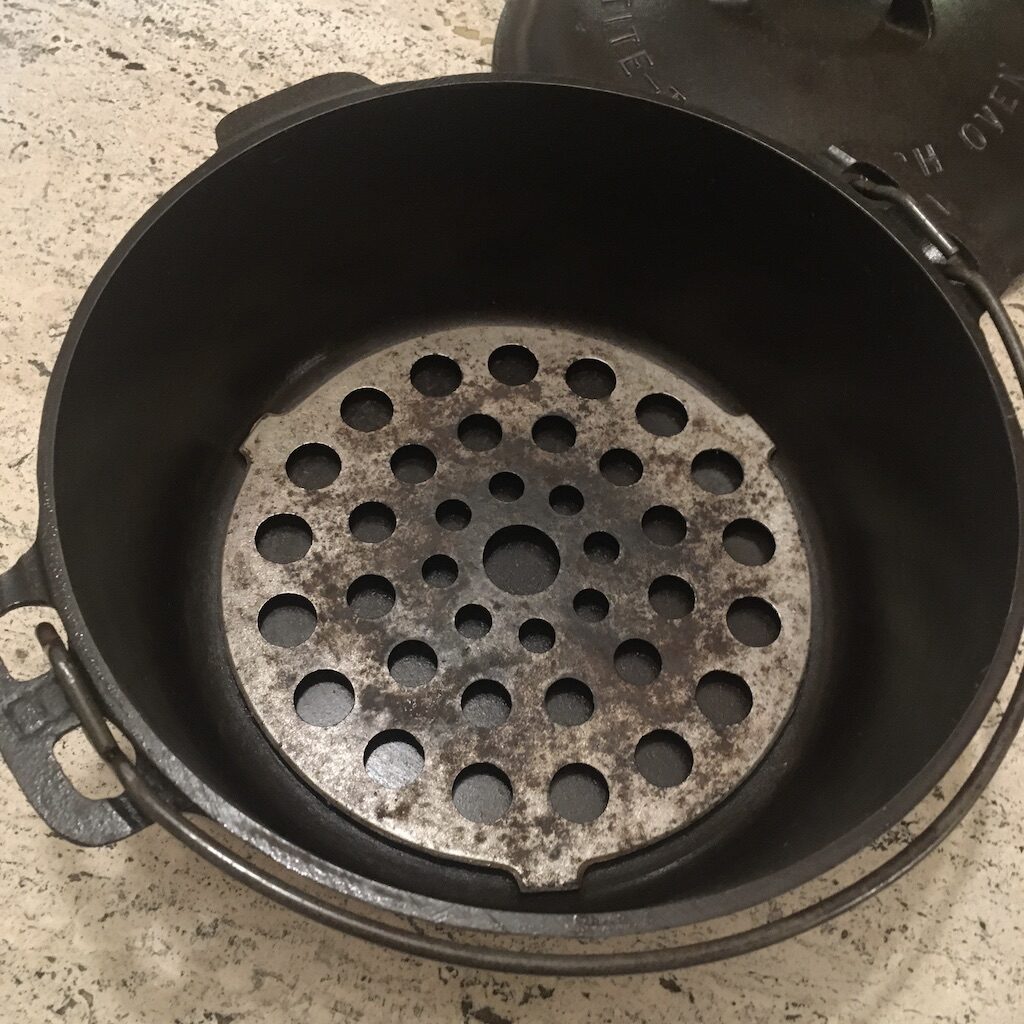
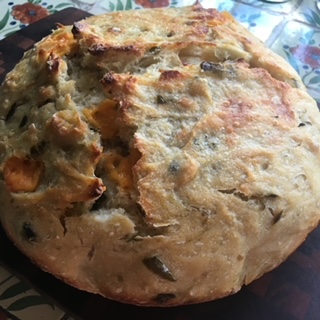
The basic recipe, which makes a beautiful large Dutch oven (mine is an antique No. 8 cast iron) round loaf is as follows:
In a large mixing bowl, add 5 cups flour (you can use half whole wheat or other flour if you wish) and one heaping tbsp. of salt (I prefer sea salt, but kosher salt can be used as well).
Here’s where it gets creative. At this point, you can add flavorings and added ingredients like:
-Cheddar cheese with or without pickled jalapeños
-Cinnamon and raisins
-Walnut and cranberry
-Roasted garlic cloves with Italian seasoning
-Chopped olives (Kalamatas are great for this but any olive is fine) with or without any type of cubed cheese and/or Italian or Greek spices
-Sunflower or pepita seeds
The sky’s the limit – have fun.

Add the extra ingredients to the flour and salt and mix well. In a 2-cup measuring cup or equivalent, measure 1 ½ cups of the starter. Add lukewarm water to the 2-cup measure and stir to mix well. Add this to your flour mixture. The dough will be very dry yet but add approximately 1 additional cup of warm water (add in small increments and combine until you have a loaf that holds together – you’ll have to use your hand to mix at some point). Get all the flour and dough from the sides and bottom of the bowl, form a perfect round loaf shape and let rise, covered with a lid, plastic wrap or, better yet, a shower cap (thanks, Denise!) for 2 to 3 hours or until the loaf has risen to 1 ½ times its original size.
After the first rise, fold the loaf over itself several times so that all the loaf has been “punched down”. Form another perfect loaf, cover and let rise for another 2 to 3 hours or until the loaf has risen to 1 ½ times its original size.
After the second rise, repeat the fold procedure, cover and put in the refrigerator to “proof” overnight. Instead of leaving it in the mixing bowl, I now put it in the cast iron pot I will be cooking it in which has been lined with parchment paper. Cover and it’s ready to take out, warm up and bake the next day without having to handle the dough again.
The next day, take your bread out of the refrigerator and let it warm up and rise again which will take 2 to 3 hours. When the loaf has risen and you’re ready to bake (you’ve got the loaf in the Dutch oven lined with parchment paper), preheat over to 450F. I like to brush olive oil on top and, if it’s a savory loaf, I sprinkle with “Everything But The Bagel” seasoning or sesame seeds. For raisin bread I sprinkle cinnamon, etc. Again, use your imagination!

Bake the covered loaf for ~40 minutes, then remove the lid and let it brown for another 13 to 15 minutes. Voila!
We learned that you absolutely have to cut two opposing crusts off to fit it in a large Zip-Lock bag, so the best time to do that is when the bread comes out fresh from the oven and slathered with butter or dipped in great olive oil!
Another trick we’ve learned is to cover the bread in the Dutch oven overnight and slice it in the morning. The crust is really difficult to cut when fresh and the moisture in the pot overnight makes it a breeze to cut the next day. We put half in the fridge and the other half in the freezer and take it out as needed. Cut the loaf in half, put the cut half on the cutting board, then slice with a bread knife into whatever thickness of slice you like.
I tried making a half-batch of whole wheat at Mom’s when I first got there and baked it in a loaf pan for a reduced amount of time. It turned out just fine.
Sourdough Ideas
A fabulous website for recipes and ideas is www.kingarthurbaking.com and some of the things we’ve tried and really enjoyed are Classic Sourdough Pancakes and Waffles, Sourdough Pizza Crust, Cinnamon Raisin Sourdough Bread, Sourdough Crumpets, Sourdough English Muffins, Sourdough Focaccia, Sourdough Hamburger Buns, High-Fiber Sourdough Waffles, and Sourdough Crackers.

Contact Information
Feel free to contact me (760.880.0067 or linda@cookingwithfire.com) if you have any questions. I hope you have as much fun baking bread for yourselves and others as I have and that you’ll share your starter with others as well. This method is SO much easier than others I’ve read about – I hope you enjoy the shortcuts!


